


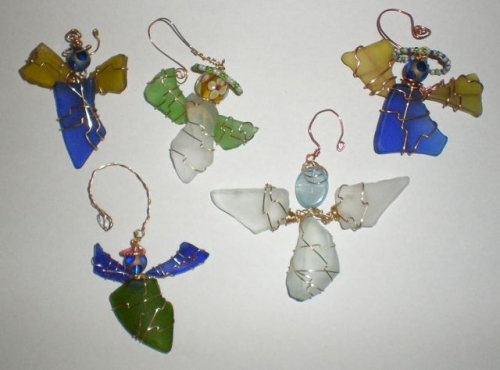


White Ice Ornament
- Category: Non-Jewelry Items
- Technique(s): Making Loops, Wrapping
- Skill Level: Beginner
This simple, age-old technique for twisting beads onto wire, can be used to create lovely, unique and fast decorative holiday ornaments.
But, if you're running out of time this year, keep this technique in mind for later.
It can also be used to create a variety of decorative embellishments.
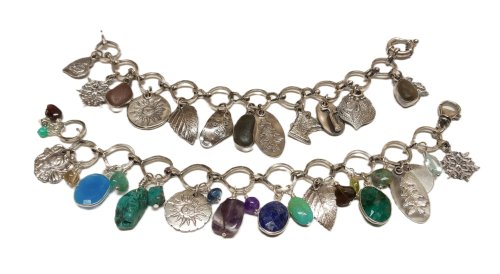
By substituting the beads for glass leaves and flowers, pearls, charms or gemstone chips, you can create jewelry, lamp switch pulls, dress up candle sticks and napkin rings, and make a birthday crown or beautiful tiara for a bride's special day.
But, if you're running out of time this year, keep this technique in mind for later.
It can also be used to create a variety of decorative embellishments.
By substituting the beads for glass leaves and flowers, pearls, charms or gemstone chips, you can create jewelry, lamp switch pulls, dress up candle sticks and napkin rings, and make a birthday crown or beautiful tiara for a bride's special day.
Materials

26 Gauge Round Silver Plated Silver Copper Craft Wire - 90 ft
H17-I26-90FT
- Lesson Quantity: 1.00 pieces
- Purchase Quantity: 1.00 each
- Price: $6.60
- Gold Club Price: $4.95

20 Gauge Round Brushed Silver Enameled Craft Wire - 25ft
H5-S20-25FT
- Lesson Quantity: 14.00 inches
- Purchase Quantity: 1.00 each
- Price: $6.90
- Gold Club Price: $5.18

6/0 crystal seed beads
- Lesson Quantity: 60.00 pieces
- Purchase Quantity: 1.00 each
3/0 opaque white seed beads
- Lesson Quantity: 24.00 pieces
- Purchase Quantity: 1.00 each
6mm frosted drop beads
- Lesson Quantity: 20.00 pieces
- Purchase Quantity: 1.00 each
Tools

Chain Nose Wire Pliers
G2-508
- G2-508
- Lesson Quantity: 1.00 pieces
- Purchase Quantity: 1.00 each
- Price: $32.95
- Gold Club Price: $24.71

Round Nose Wire Pliers
G2-507
- G2-507
- Lesson Quantity: 1.00 pieces
- Purchase Quantity: 1.00 each
- Price: $32.95
- Gold Club Price: $24.71

C.H.P Milano Italian Flush Cutter, 5 1/2 Inches
PLR-487.00
- PLR-487.00
- Lesson Quantity: 1.00 pieces
- Purchase Quantity: 1.00 each
- Price: $16.97
- Gold Club Price: $12.73
Instructions
Step 1:
Base Wire
Cut 14 inches of 20 gauge wire.
Make a wire-wrapped loop at one end
Make a wire-wrapped loop at one end

Step 2:
Working wire
Cut 72" of 26 gauge wire.
Attach the wire through the top of the wire-wrapped loop, then wrap several times around the base under the last wrap.
Trim the working wire tail.
Leave the working wire.
Attach the wire through the top of the wire-wrapped loop, then wrap several times around the base under the last wrap.
Trim the working wire tail.
Leave the working wire.

Step 3:
Bead pattern sequence
15 ea. size 6 crystal seed beads (A)
6 ea. size 3 opaque seed beads (B)
5 ea. 6mm frosted drop beads (C)
Repeat the pattern 4 times.
6 ea. size 3 opaque seed beads (B)
5 ea. 6mm frosted drop beads (C)
Repeat the pattern 4 times.
Pro Tip: Embellishment beads can be added one at a time or they can all be added to the working wire before beginning the technique. Make sure to twist the end or add a stop bead to the working wire to keep the beads from falling off.
Step 4:
Basic wire twist technique
Add 5 A beads to the working wire.

Step 5
Pinch the beads together, about 1/2" from the base wire, then twist the working wire until it meets the base.

Step 6
Wrap the working wire around the base wire 5 times.

Step 7
Repeat Steps 4-6 two more times.

Step 8
Add 3 B beads to the working wire.
Pinch the beads together and twist the wire to the base.
Wrap the working wire around the base five times.
Pinch the beads together and twist the wire to the base.
Wrap the working wire around the base five times.
Step 9
Repeat Step 8.
Step 10
Add 1 C bead to the working wire.
Twist the bead and wire to the base.
Wrap the working wire around the base five times.
Twist the bead and wire to the base.
Wrap the working wire around the base five times.
Step 11
Repeat Step 10 four more times.
Step 12
Continue the bead pattern sequence, using Steps 1-9 as a reference.
Step 13:
Adding wire
If additional working wire is needed, add as a follows (photos shown with contrasting wire).
Work until 4 inches of the original working wire remains.
Lay a new length of 26 gauge wire along the base.
Wrap the original wire around the base and the new working wire several times.
Work until 4 inches of the original working wire remains.
Lay a new length of 26 gauge wire along the base.
Wrap the original wire around the base and the new working wire several times.

Step 14
Complete the next bead pattern sequence, using the original working wire, and working over the base and new working wire.
Finish the final five wraps around the base with the original working wire.
Trim the original working wire.
Trim the tail of the new working wire.
Using the new working wire, complete any remaining sequences in the bead pattern.
Finish the final five wraps around the base with the original working wire.
Trim the original working wire.
Trim the tail of the new working wire.
Using the new working wire, complete any remaining sequences in the bead pattern.

Step 15:
FInish
When the desired length of the ornament is completed, trim the working wire.
Make a wire-wrapped loop.
Make a wire-wrapped loop.

Step 16
For a twist, wrap the base of the completed project around a 4mm knitting needle, or other small diameter object.
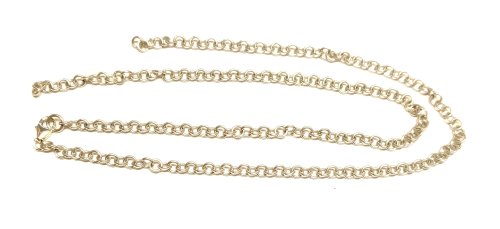
Optional: decorative chain tassel.
Optional: decorative chain tassel.


Supply Detail
loading...
Change Metal:
This Pattern requires:
Purchase quantity:
Price: $
Gold Club Price: $
Purchase quantity:
Price: $
Gold Club Price: $
Other Patterns by Stephanie Eddy
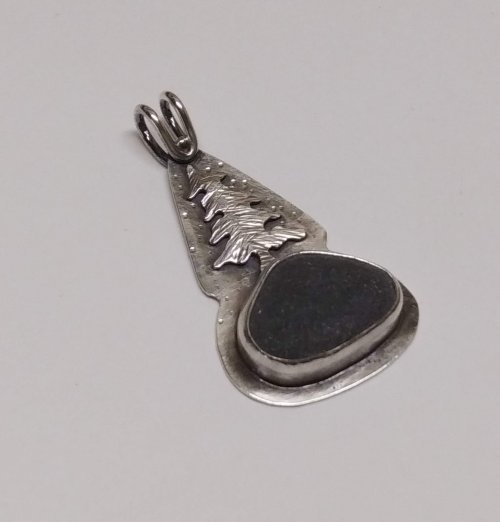
 Freeform Framed Wired Pendant
![]()
The premier place for all your jewelry making needs. The best in wire, tools, cabochons, gemstone beads and more. As well as a superior resource for educational support to help build your jewelry making skills and techniques.
Connect With Us

® 2007 - 2026 Wirejewelry.com Powered by ClaimTheWeb Cart