
Wire Spider Ornament
- Category: Holiday Designs
- Technique(s): Twisting
- Skill Level: Beginner
An old folk tale tells the story of the spider that decorated the Christmas tree with beautiful webs for a family who couldn't afford any ornaments. The spider is a traditional Christmas ornament in many countries.
Materials

24 Gauge Round Dead Soft Copper Wire
H11-24D
- Lesson Quantity: 3.50 feet
- Purchase Quantity: 1.00 5FT
- Price: $0.93
- Gold Club Price: $0.69

10-16mm bead
- Lesson Quantity: 1.00 pieces
- Purchase Quantity: 1.00 each

6/0 seed bead
- Lesson Quantity: 1.00 pieces
- Purchase Quantity: 1.00 each
Tools

Chain Nose Wire Plier
G2-508
- G2-508
- Lesson Quantity: 1.00 pieces
- Purchase Quantity: 1.00 each
- Price: $32.95
- Gold Club Price: $24.71

Round Nose Wire Plier
G2-507
- G2-507
- Lesson Quantity: 1.00 pieces
- Purchase Quantity: 1.00 each
- Price: $32.95
- Gold Club Price: $24.71

6 Step Barrel Plier - Pack of 1
G2-503
- G2-503
- Lesson Quantity: 1.00 pieces
- Purchase Quantity: 1.00 each
- Price: $22.97
- Gold Club Price: $17.23

C.H.P Milano Angled Flush Cutter, 5-1/4 Inches
PLR-489.00
- PLR-489.00
- Lesson Quantity: 1.00 pieces
- Purchase Quantity: 1.00 each
- Price: $19.97
- Gold Club Price: $14.98
Instructions
Step 1
Find the center of your wire. Wrap the middle of your wire around the 4th step on the bail making pliers or the biggest part of the round nose pliers twice. Pinch the wire together after the 2nd wrap.

Step 2
Slide the large bead onto the end of the two wires and slide it up to the the double loop made in Step 1.


Step 3
Take round-nose pliers and insert them between the wires right by the bead. Wrap the wires around the tip of the round nose pliers to form a small double loop. The ends of the two wires should be going away from each other.

Step 4
Wrap the ends around the base (or neck) of the loop all the way around so the wires end up in the same position they started in.

Step 5
Bring one of the wires around the bead to the big loop is. Insert the wire through the big loop going down through the loop. Wrap the wire snugly once around loop.

Step 6
To make the first leg, bend the wire at about 2 to 3 times the length of the bead. Put the wire back thru the big loop. Wrap wire once around big loop, as before, to set the leg in place. With the spider I made for this tutorial the first leg ended up being about 1 1/8th inches long. This first leg will determine how long all the legs are and how much the spider will stand up off the table.


Step 7
Make the second leg like the first but make it a little shorter then the first leg made. Set the leg by wrapping the wire around the large loop once.

Step 8
Make the third leg the same size as the second leg. The fourth leg should be about the same size as the first leg. Set each leg with a wrap around the loop between each leg. Wrapped can be skipped if the loop is too small to accommodate the wire being wrapped that many times.

Step 9
After the legs are done, make the first side of the pincer the same way but make it only about ¼ to ½ inch long. No need to set (or wrap) the pincer. Repeat on the other side with the other wire. When done put the two wires together and pull them up between the pincers.

Step 10
Repeat on the other side with the other wire. When done put the two wires together and pull them up between the pincers.

Step 11
Thread the two wires thru the seed bead. Slide the bead all the way down the wire and and bend the wires so the bead sits right on top of the large loop. Take the wires and bring them to the back, one wire on each side going to the back between the first leg on each side of the large bead.


Step 12
Twist the two wires together under the spider. Trim to about ¾ of an inch. Use the round nose pliers to spiral the ends and bend them flat against the loop.


Step 13
Take the chain nose pliers and grasp the end of the first leg and start twisting the wires. Twist the legs nice and tight. By grasping the end of the wire with the pliers it will leave a little loop at the very end of each of the legs. Twist all the legs and the pincers try to make the twisting even.


Step 14
Bend all the legs right at the loop where they start.

Step 15
Bend legs down about 2/3 the way up the legs. The back leg and front leg knees of the spider should be higher then the middle legs.

Step 16
Take the chain nose pliers and gently bend the pincers. Grab the pincers about halfway up them and bend the pincer towards the other pincer. Try to make the bends mirror images.

Step 17
Use the pliers to bend all the little loops on the ends of the legs out to form feet. Arrange the legs to where they are aesthetically pleasing and enjoy your spider. The loop on the back of the spider can be used to hang it.








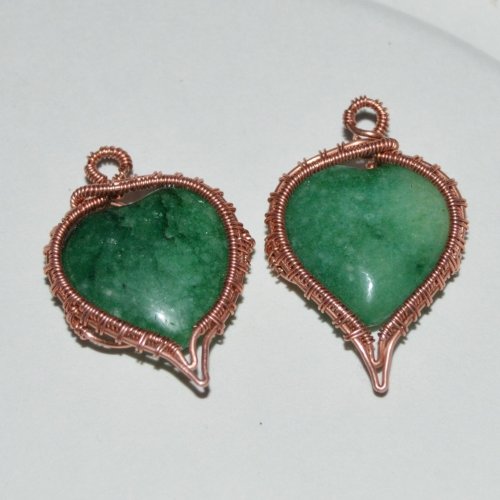 Woven Heart Earrngs
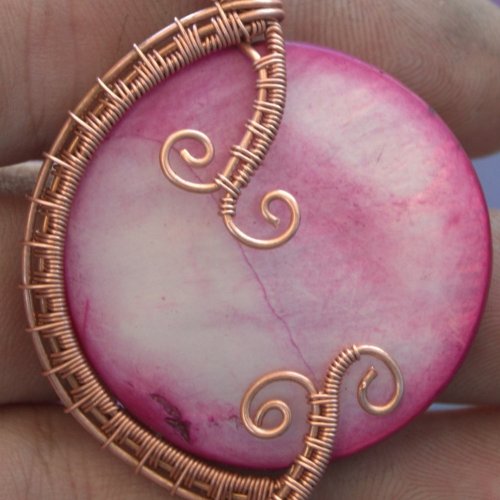 Woven Shell Coin Pendant
 Tree of Life Pendant

